This post may contain affiliate links, which means I’ll receive a commission if you purchase through my link, at no extra cost to you.
Blank T-shirts are everywhere. They are cheap and easily available from nearly any mass supplier of clothing such as Gildan or Hanes.
This guide will show you why plain shirts can become the best untapped resource to create the wardrobe of your dreams – using a simple material: Heat Transfer paper.
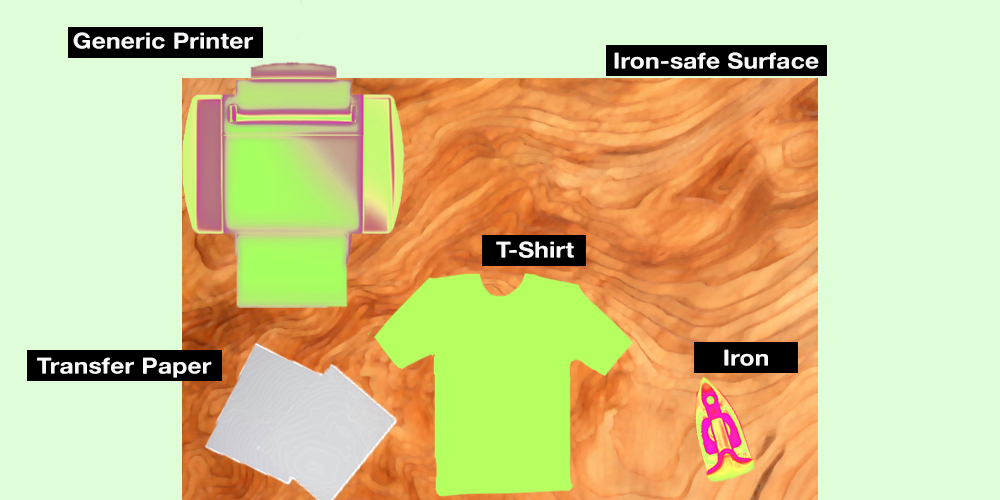
Materials You Will Need and Where to Get Them
Iron-on heat transfer paper is offered by a lot of different brands but I would recommend HTVRONT brand because it’s the best quality (print results, durability) from what I’ve seen. It’s also offered in a variety of quantities, which is always helpful for a beginner. Just make sure to choose the right kind for light or dark fabrics!
I would recommend using an old, plain shirt for this to start off with – that way you’re repurposing. Although, if you don’t have any clothes available that you’d like to try this on, Amazon has some very affordable options for plain T-shirts that you could use as a base.
An iron is the one tool aside from a printer that you will need for this project. You might already have one at home, but if not, they are cheaper than ever and we found the best option for you here.
Step 1: Choose Your Design and Consider the Layout.
Pick any design that you’d like to have printed on your T-shirt.
You can create your own design, or if you don’t have one I’d recommend browsing Pinterest to find something that strikes a nerve.
Place it on any software such as Microsoft Word, keeping in mind that the image will print on either an A4 or Letter size paper (depending on which type you choose), and size your design on the page accordingly.
Step 2: Insert Your Compatible Transfer Paper into the Printer and Print
Print your design onto the right type of transfer paper – making sure that you use the right kind for the printer you have available, and the appropriate kind depending on whether your T-shirt is on the darker or lighter side.
Step 3: Cut out Your Design and Iron it onto Your T-Shirt
Cut out your design as neatly as possible – I’d recommend using either scissors or an X-acto Knife for this.
Next, peel off the paper backing of the transfer paper, position it wherever you want it on your T-shirt, place the wax-paper (should be included with the transfer paper) on top of it, and iron evenly for 5-10 minutes. Make sure to iron the edges and corners extra to avoid it coming loose.